
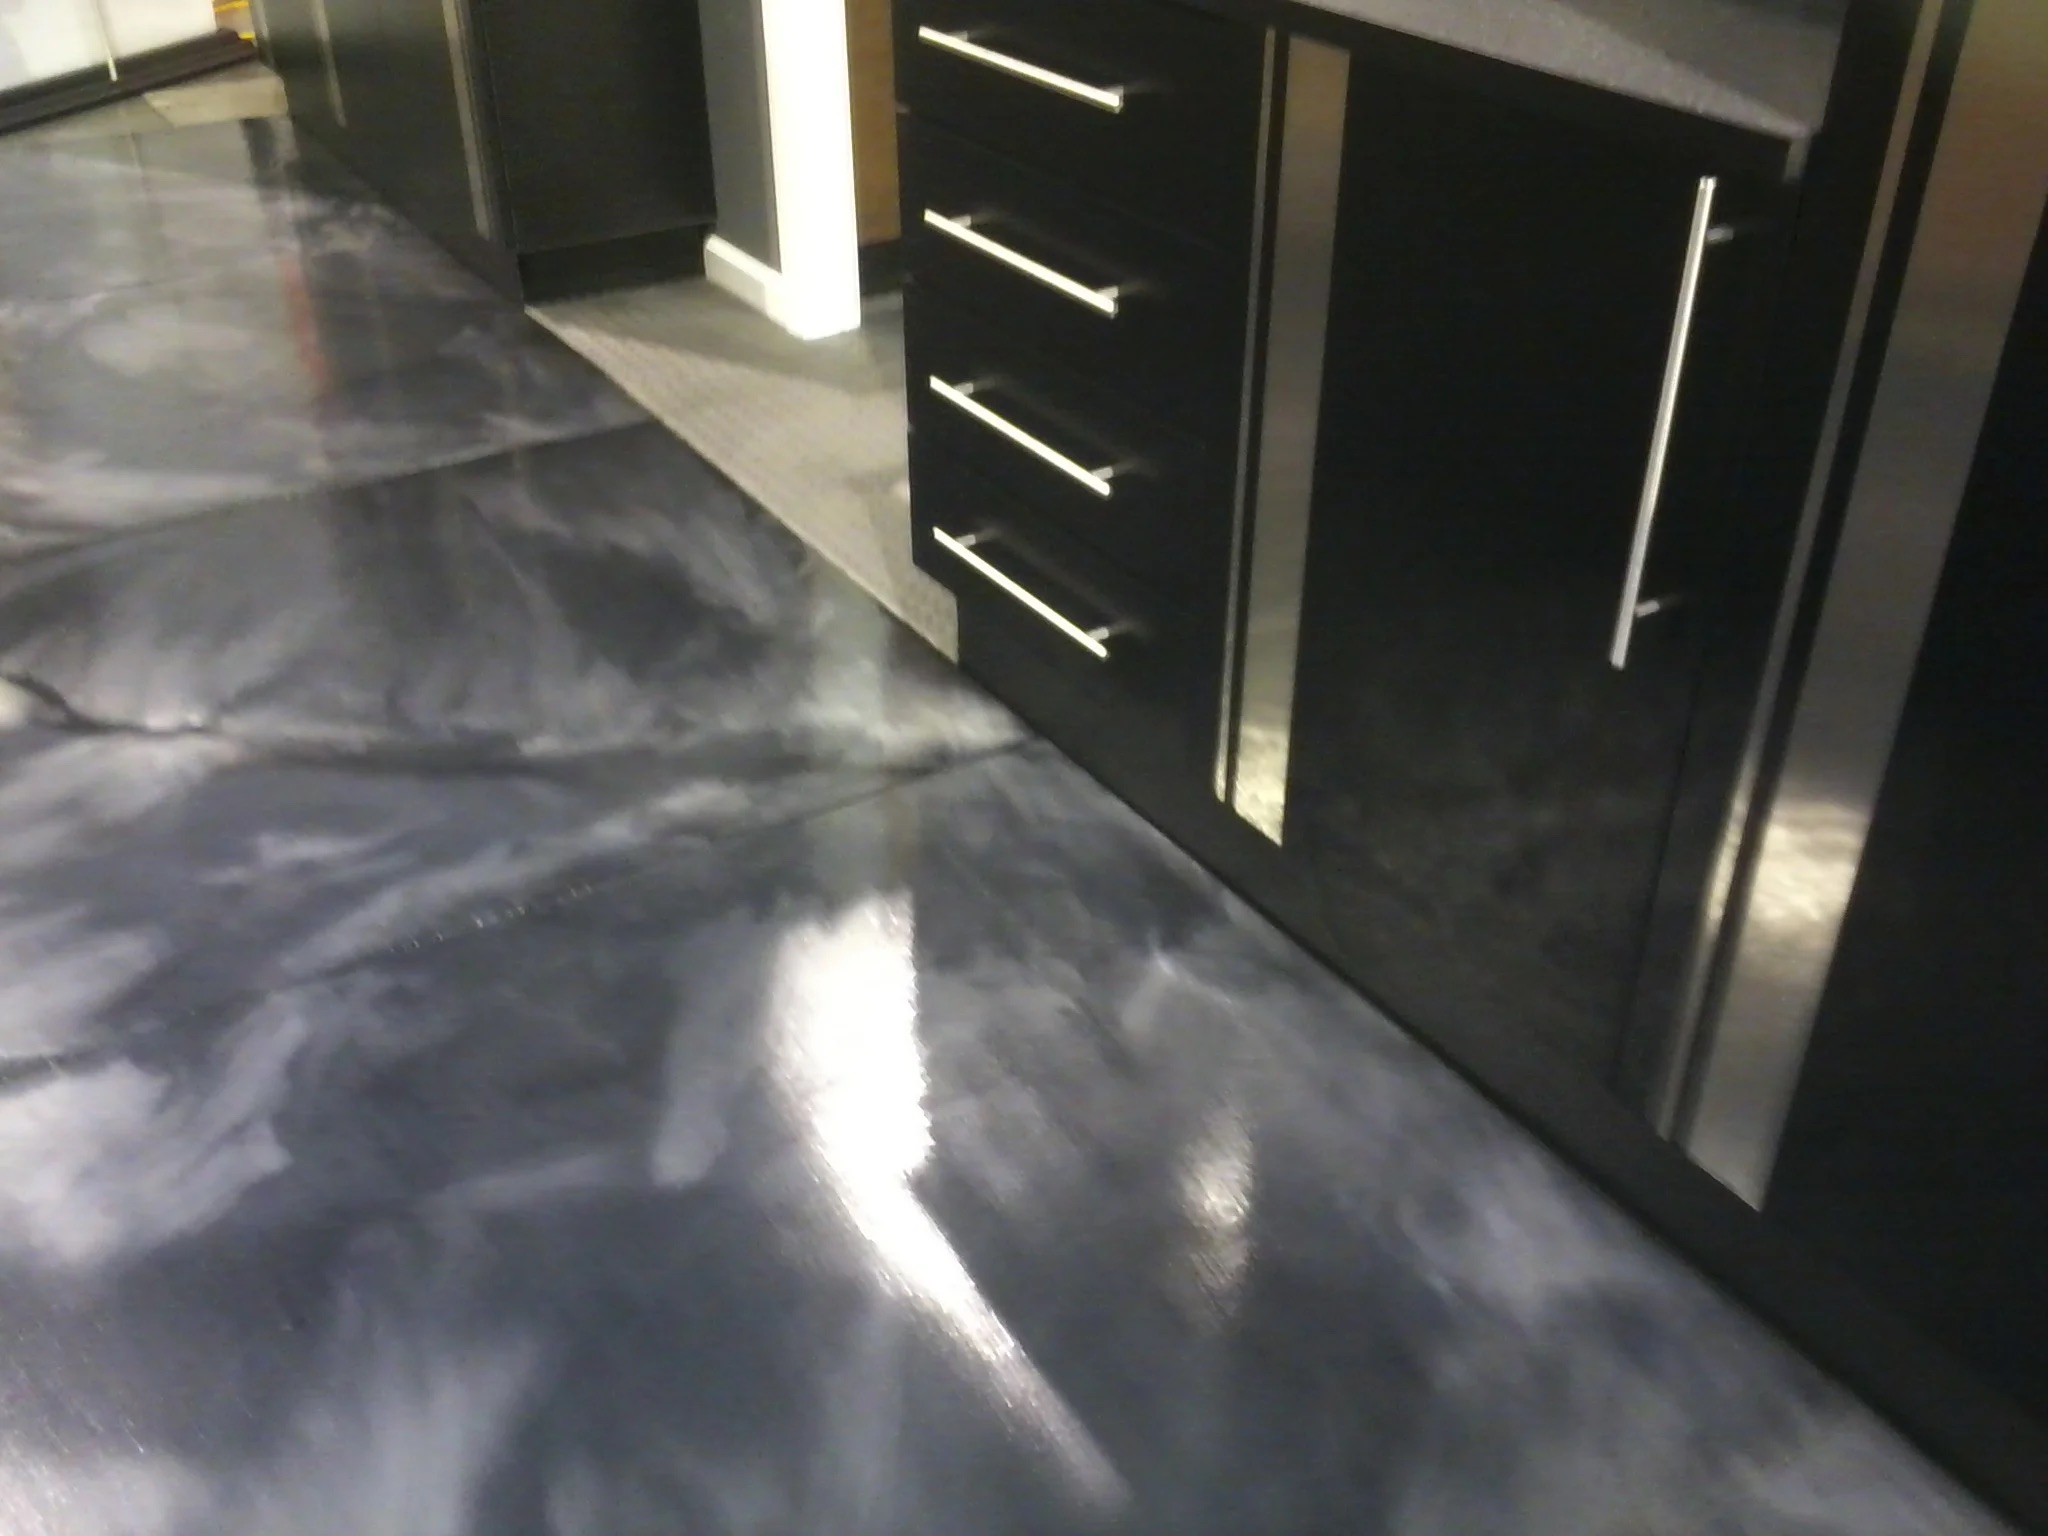
Metallic epoxy garage floor coatings blend robust performance with striking design. Created by infusing metallic pigments into a durable epoxy base, these floors feature glossy, three-dimensional swirls that mirror the look of molten metal or polished stone. Whether you’re a car enthusiast, hobbyist, or just want to upgrade your space, metallic epoxy transforms an ordinary garage into a high-gloss showroom.
What Is Metallic Epoxy Garage Floor Coating?
Metallic epoxy garage floor coating is a high-performance epoxy system enhanced with shimmering metallic pigments. These pigments create unique, light-reflective patterns that add visual depth and movement across the floor.
More than just aesthetics, this coating provides exceptional durability. It’s engineered to withstand heavy traffic, oil spills, tire marks, and harsh cleaning chemicals. Perfect for residential garages, auto shops, and luxury man caves, it offers a custom finish that balances style with long-term strength.
Benefits of Metallic Epoxy in the Garage
Metallic epoxy isn’t just about good looks—it’s a smart upgrade for anyone serious about garage performance and protection. Engineered for high-stress environments, this flooring solution holds up under everything from parked vehicles to daily spills. And with its seamless surface and design flexibility, it offers functionality as striking as its appearance.
- Durability: Engineered to resist tire heat, impact, chemicals, and oil stains—ideal for garages exposed to constant wear.
- Design Flexibility: Choose from endless pigment combinations and effects like marble, lava, or metallic swirls to suit any personal style.
- Long Lifespan: When properly maintained, metallic epoxy floors can last 10–20 years without significant wear.
- Low Maintenance: The seamless surface prevents dust accumulation and makes cleaning as simple as a mop and mild detergent.
Design Options for Garage Applications
The visual impact of a metallic epoxy floor is unmatched. Common finishes include molten lava, liquid metal, and metallic marble—each customized by manipulating pigment flows during application. The result is a truly one-of-a-kind surface. Popular color choices include:
- Charcoal & Silver: Sleek and industrial, ideal for modern garages. These colors give the space a polished, high-tech look that pairs well with metal shelving and modern lighting.
- Bronze & Copper: Adds warmth and a touch of luxury. These tones work beautifully in garages with wood accents or darker wall finishes.
- Two-Tone Swirls: Black and gold or blue and steel combinations bring movement and drama. This bold choice is perfect for making your garage feel more like a designer showroom.
DIY vs. Professional Installation
Wondering how to do a metallic epoxy floor in your own garage? Many homeowners start with a metallic epoxy floor kit, which provides all the essential materials to complete the project independently. Installing a metallic epoxy garage floor can be tackled as a DIY project—but only with the right tools and preparation. Homeowners should evaluate whether budget savings justify the higher risk of DIY mistakes like bubbling, uneven curing, or poor adhesion.
- DIY Metallic Epoxy Garage Floor Kits: Available online, these kits typically include epoxy resin, pigment, and clear topcoat. While cost-effective, they require careful prep and precision during application.
- Professional Installers: Bring moisture meters, concrete grinders, and industrial-grade sealants. Their expertise ensures a smoother finish, longer lifespan, and proper safety measures.
How to Do a Metallic Epoxy Garage Floor (Step-by-Step)
A metallic epoxy floor installation for your garage requires precision and patience—but the results are well worth the effort. Each stage of the process plays a crucial role in achieving a seamless, high-gloss finish that lasts for years. From surface preparation to sealing the topcoat, here’s how to do a metallic epoxy floor:
- Surface Prep: Clean the garage floor thoroughly, grind the surface to open pores, fill any cracks, and remove all contaminants like oil, dust, or debris that could interfere with adhesion.
- Primer Application: Apply a high-quality concrete bonding primer to ensure strong adhesion between the concrete and the epoxy system. This layer prevents peeling and enhances the longevity of the coating.
- Metallic Base Coat: Mix the epoxy resin with your selected metallic pigment. Apply it evenly using a roller or squeegee to establish a smooth, uniform base layer.
- Swirl Technique: While the base coat remains wet, use tools like leaf blowers, rollers, or brushes to manipulate the pigment. This is how you create the swirling, 3D patterns metallic epoxy is known for.
- Topcoat Sealing: Once the base layer cures, apply a UV-resistant clear topcoat. This final step enhances the gloss, seals the pattern, and adds long-lasting protection against wear and UV damage.
DIY vs Professional Metallic Epoxy Garage Coating
| Feature | DIY Metallic Epoxy Floor | Professional Installation |
| Avg. Cost/Sq. Ft | $3–$6 | $6–$12 |
| Durability | Moderate (5–8 years) | High (10–20 years) |
| Design Quality | Limited customization | Premium, multitone, and swirl effects |
| Required Tools | Kit, roller, surface prep | Grinders, meters, pro-grade topcoats |
| Risk of Failure | Higher | Minimal |
Maintenance Tips for Metallic Garage Floors
Maintaining a metallic epoxy garage floor is key to preserving its shine, durability, and visual impact over time. Though tough by nature, these floors still benefit from a consistent care routine to protect against wear, stains, and fading. With just a few preventive steps and periodic upkeep, you can keep your floor looking as sleek and glossy as the day it was installed.
- Gentle Cleaning: Use a soft mop with pH-neutral detergent. Avoid harsh cleaners or abrasive pads. This helps preserve the floor’s shine and prevents surface degradation.
- Protective Mats: Place rubber mats under vehicle tires or jacks to prevent scuffs or pressure marks. They also protect against long-term pressure damage and oil leaks.
- Reapply Topcoat: Every 5–7 years, add a fresh topcoat to restore shine and surface protection. This layer refreshes the look and maintains resistance to UV rays and chemicals.
Want to transform your garage into a durable, high-gloss showcase?
Whether you’re exploring DIY options or seeking professional results, our team offers tailored solutions to fit your space and style. We take pride in delivering precision craftsmanship backed by industry-grade materials. Let us help you create a garage floor that performs under pressure and turns heads in the process. Contact Epoxy Tallahassee for expert metallic epoxy garage floor coating services.
Frequently Asked Questions
Can I install metallic epoxy flooring myself?
Yes, with the proper tools and a high-quality epoxy metallic floor kit, experienced DIYers can complete the job. However, precision is key, and professional installation is always recommended.
How long does metallic epoxy take to install?
On average, installation takes 2–5 days, including prep, pigment application, and curing. Variables such as floor size and ambient temperature can affect the total time required.
How are swirl effects in metallic epoxy made?
Swirl effects are made by moving the metallic pigment layer using brushes, rollers, or blowers before the epoxy sets.
Are metallic epoxy floors slippery?
They can be slippery when wet, but anti-slip additives are available to enhance traction. These additives create a textured finish without compromising the floor’s appearance.
Will hot tires damage a metallic epoxy garage floor?
No. Quality metallic epoxy coatings are engineered to resist hot tire pickup, oil, and chemical spills without degradation.